

- Embed it on your website. Paste one line of code into a page of the website you already have.
- Give it its own page in your CRM. Build a one-page funnel in Sites, put the form on it, and connect your domain, so it opens at an address like
application.yourdomain.comorapply.yourdomain.com.
Copy your embed code
Both ways start here.Open the embed code
Copy it
<script.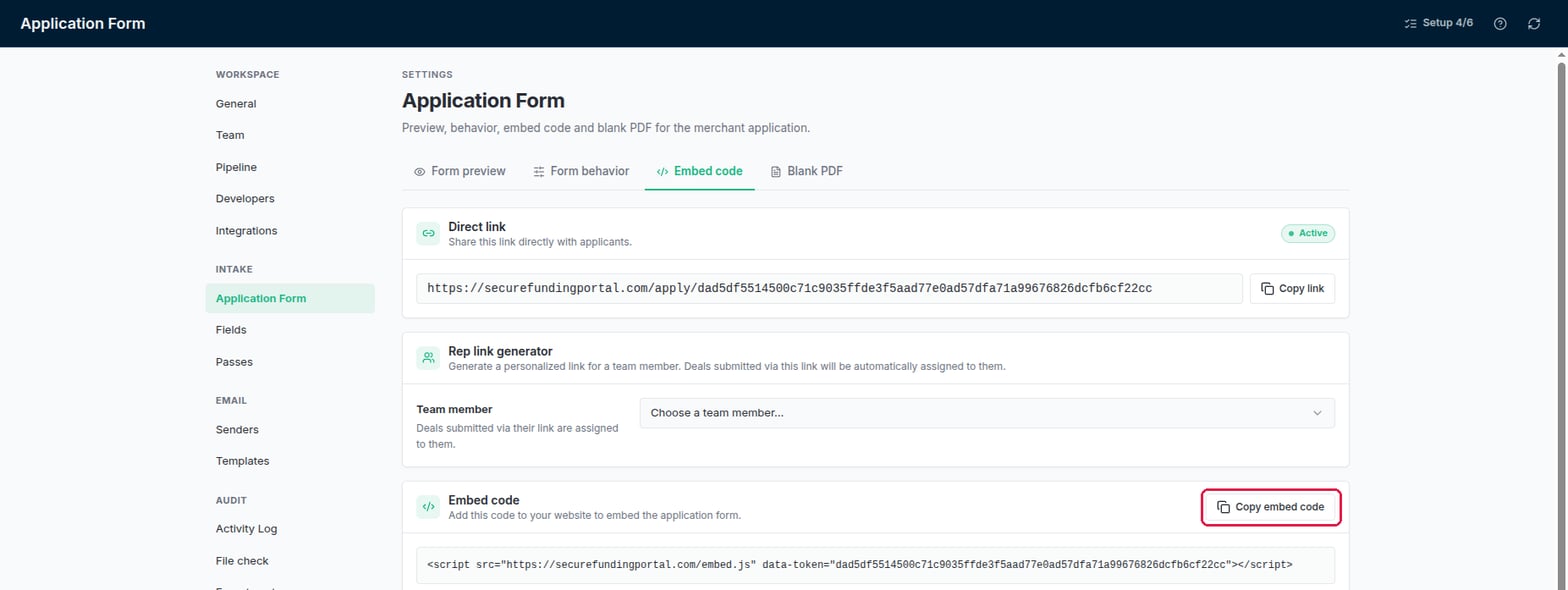
Settings → Application Form → Embed code: Copy embed code copies the line to paste.
Option 1: Embed it on your website
Paste the embed code into the page where the form should appear. Most website builders have a block for this, called HTML, Custom HTML, Code or Embed. Publish the page, then open it to check the form shows. Use one form per page.Option 2: Give it its own page in your CRM
Choose the address
- A subdomain, such as
application.yourdomain.com. This works wherever your main website is hosted, because only the subdomain points at your CRM. - A path on your main domain, such as
yourdomain.com/application. This only works ifyourdomain.comitself is connected to your CRM, for example because your website is built in Sites. If your website is somewhere else, use a subdomain.
Create the funnel
Open Sites → Funnels
Name it
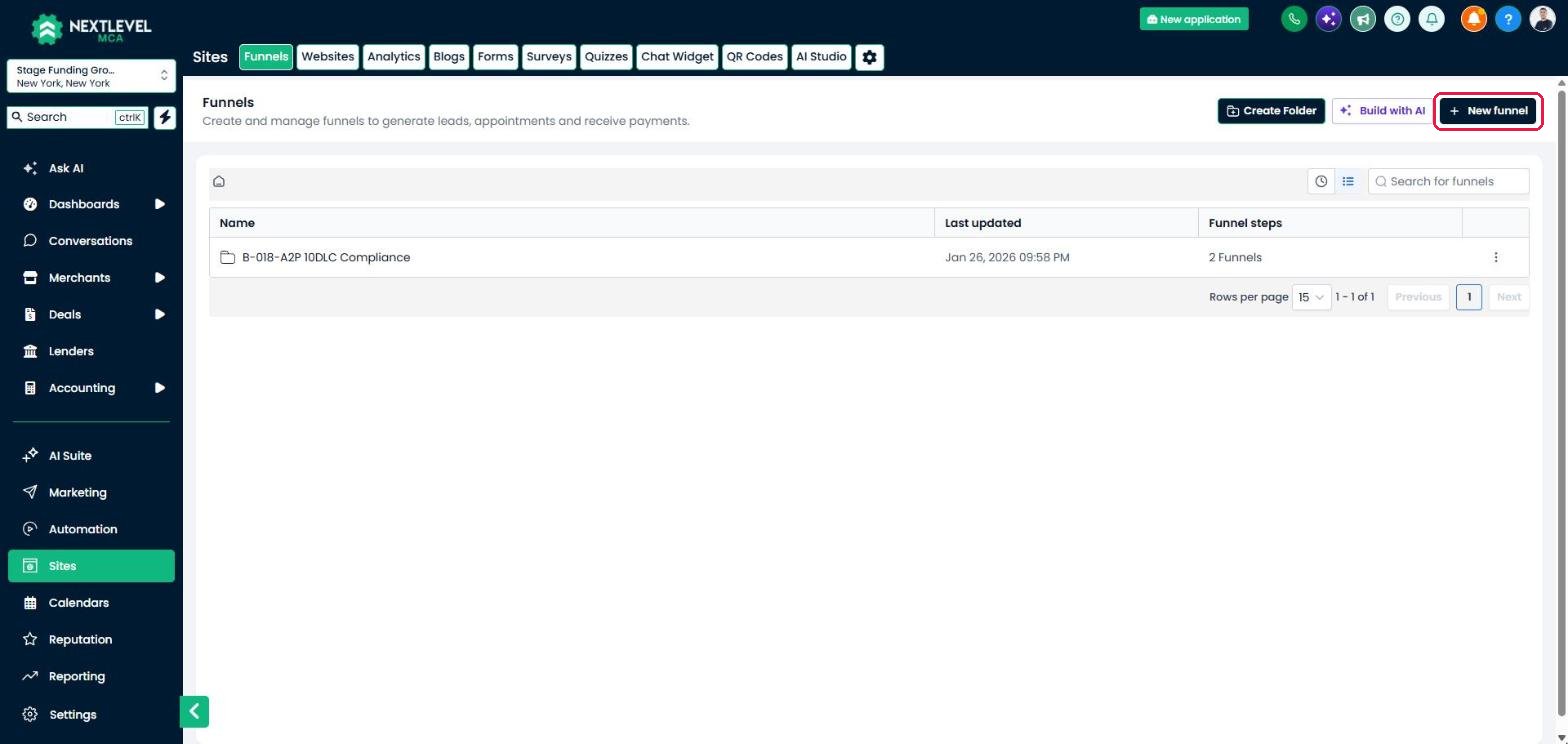
Sites → Funnels: New funnel is at the top right.
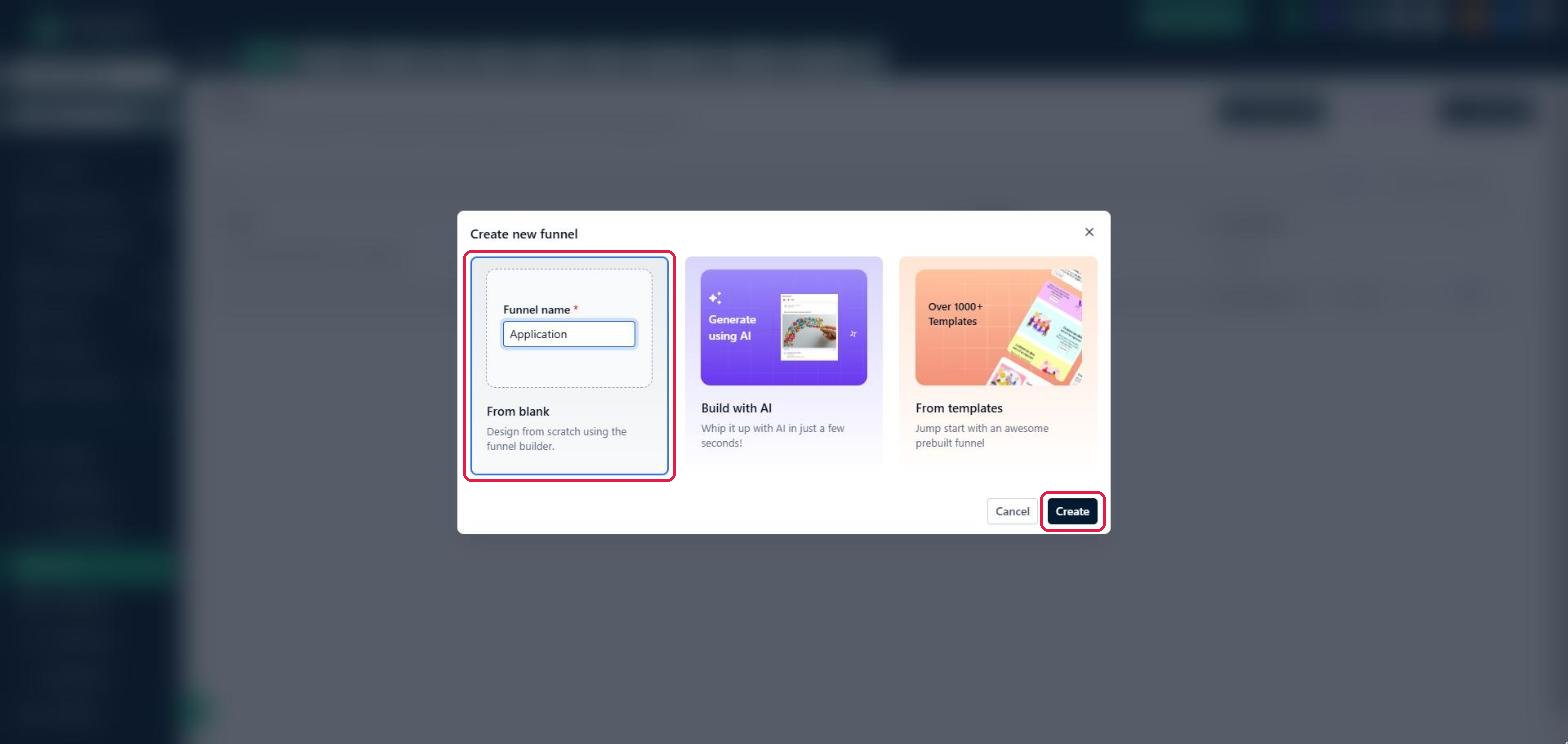
Create new funnel: From blank, with the funnel's name.
Add the page and set its path
Add a step
Name the page and set the path
application. Click Create funnel step.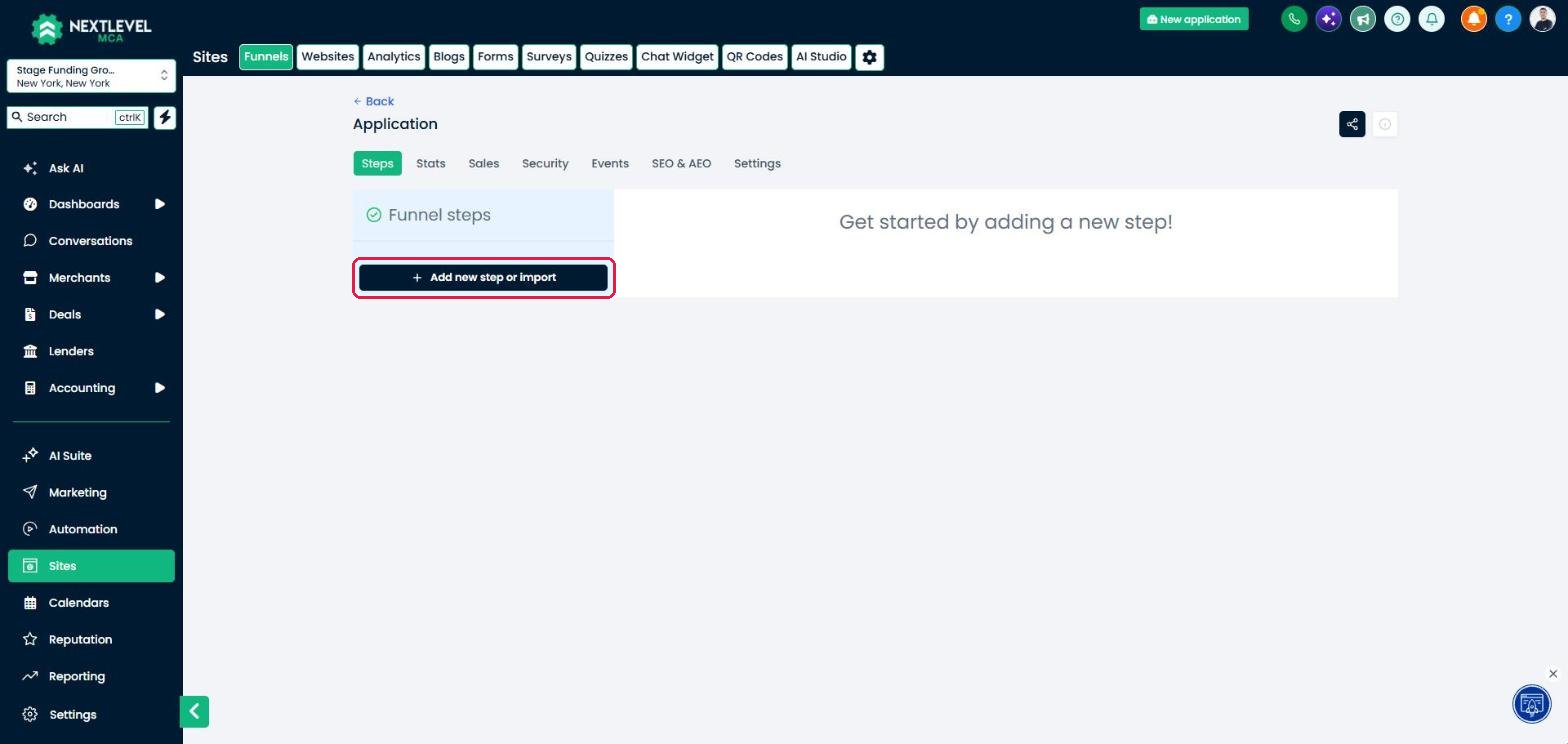
The new funnel, empty: Add new step or import adds its first page.
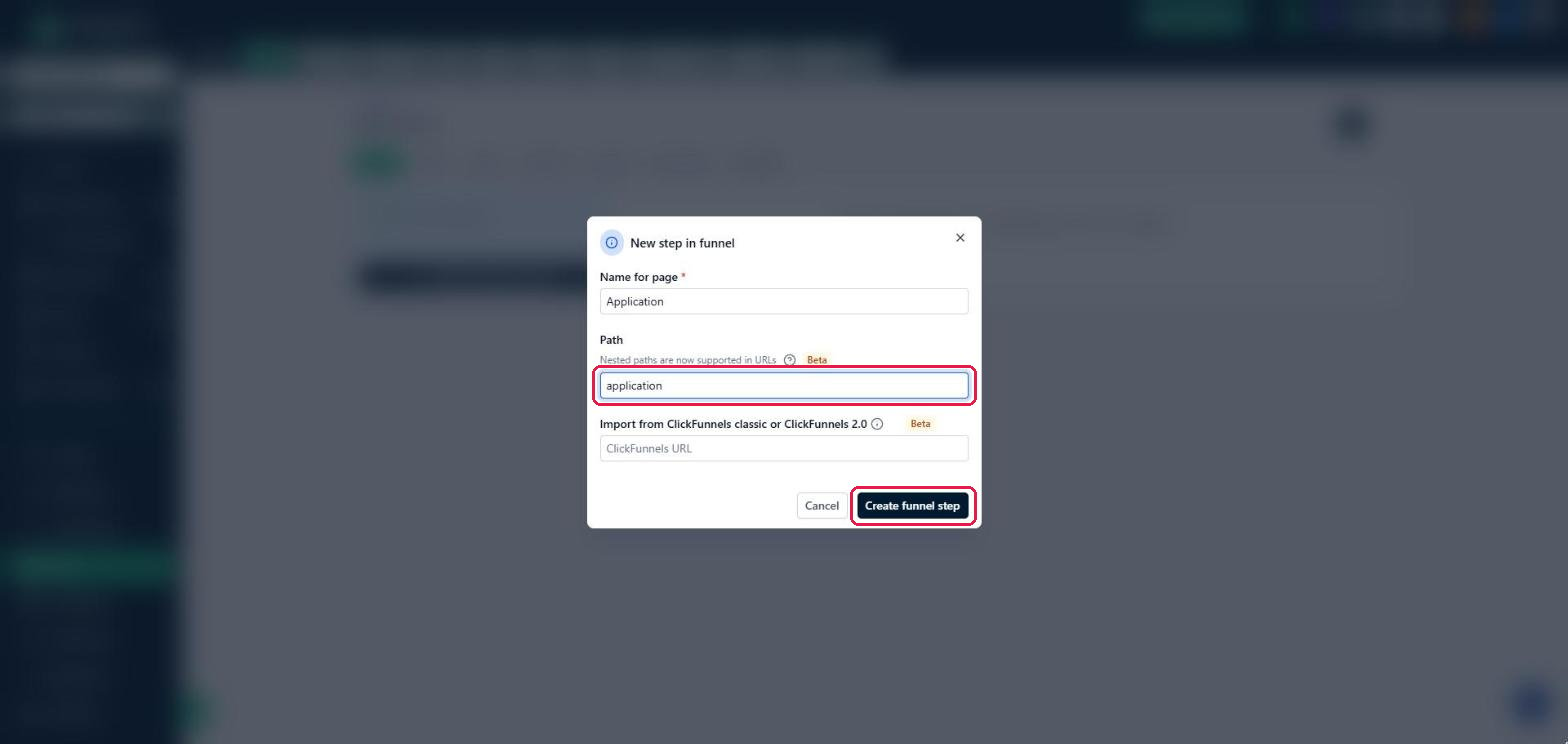
New step in funnel: the page name and its path.
Put the form on the page
Open the page builder
Add a section
Add a Code element
Paste the embed code
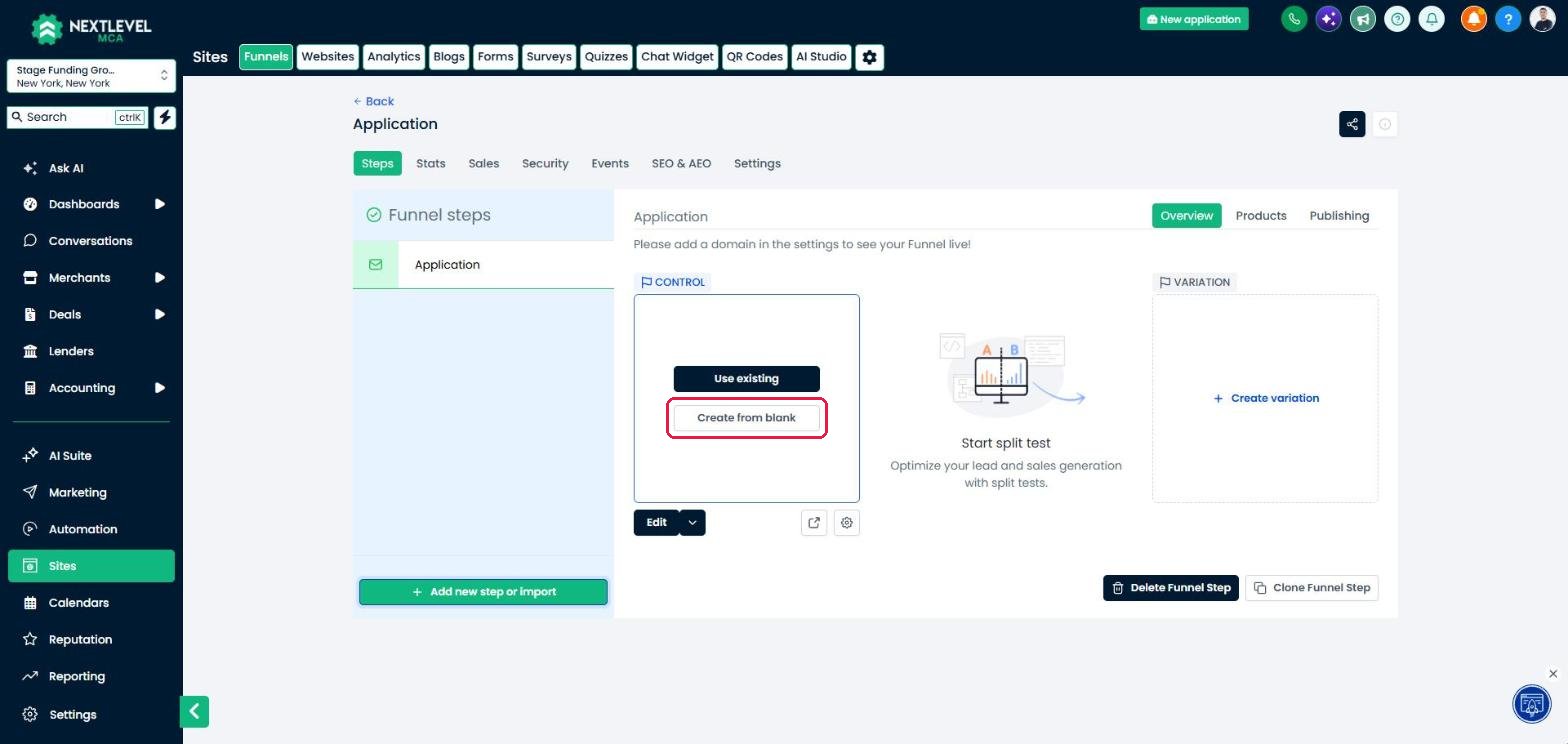
The new step: Create from blank opens the page builder.
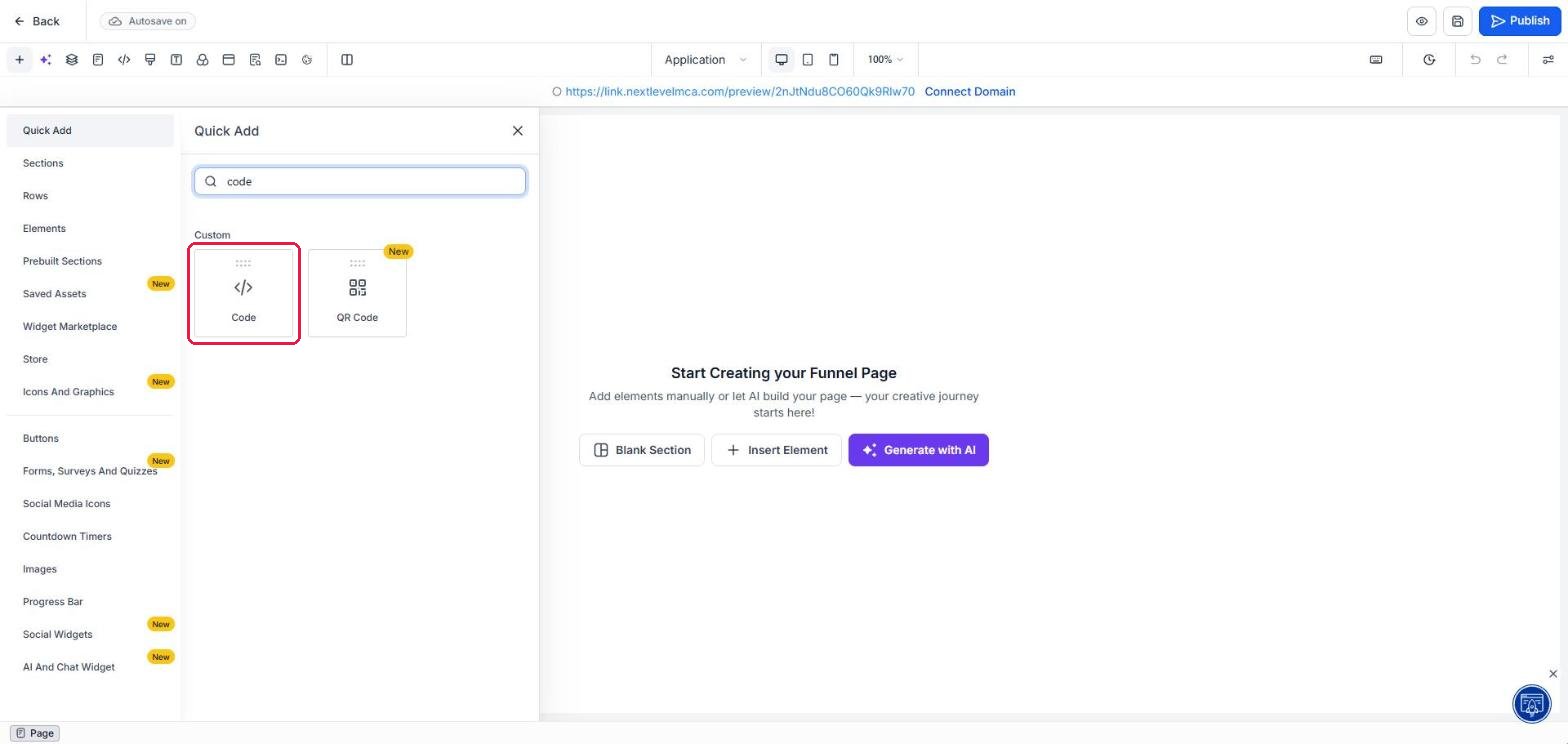
Quick Add, searched for code: the Code element.
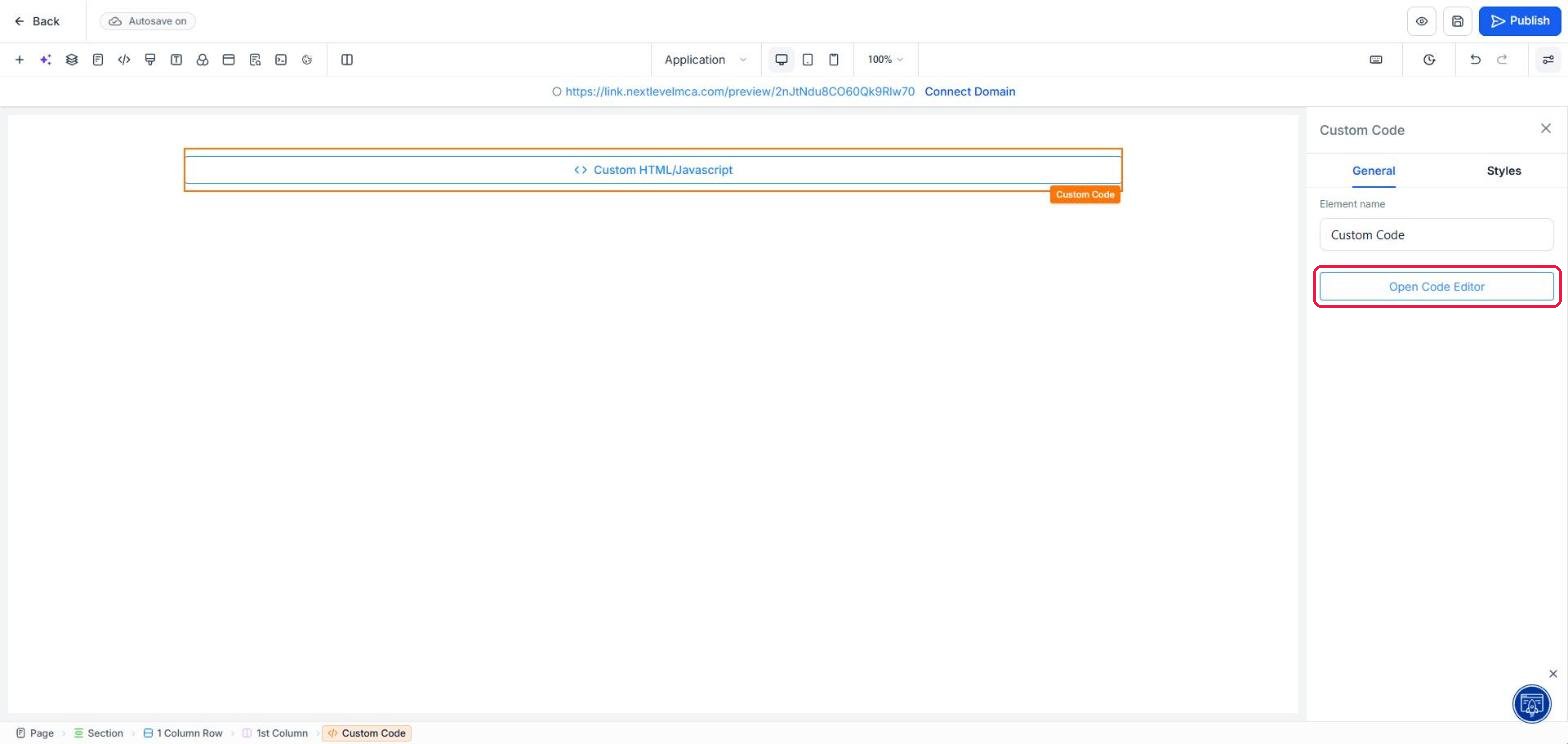
The Code element on the page, with Open Code Editor on the right.
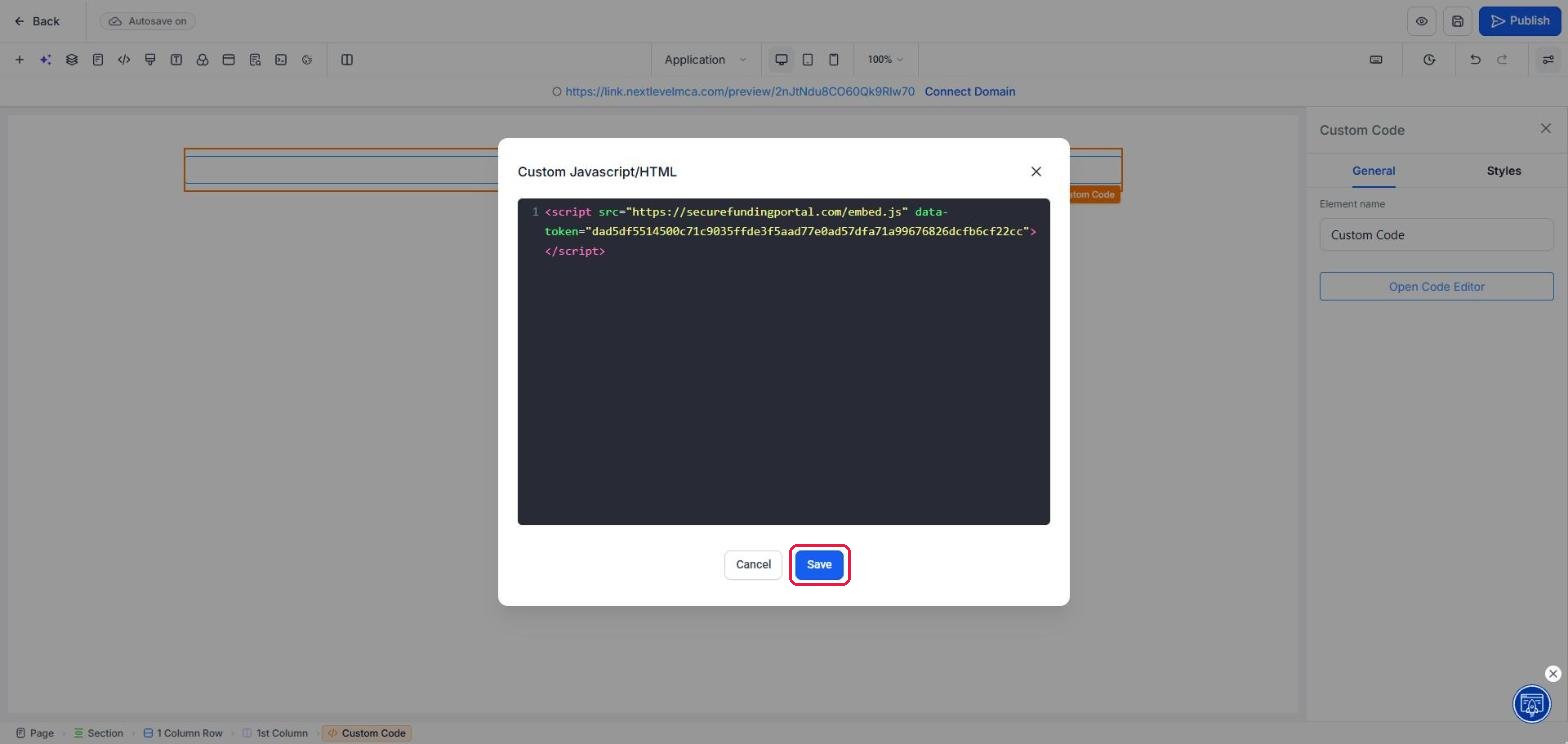
The code editor with the embed code pasted in. Save keeps it.
Connect your domain
Open Domains
Choose funnels
Enter the address
application.yourdomain.com, and click Continue.Add the DNS record
application) and whose value is sites.ludicrous.cloud. Copy them into the DNS settings wherever your domain is managed, then click Verify records.Link it to the funnel
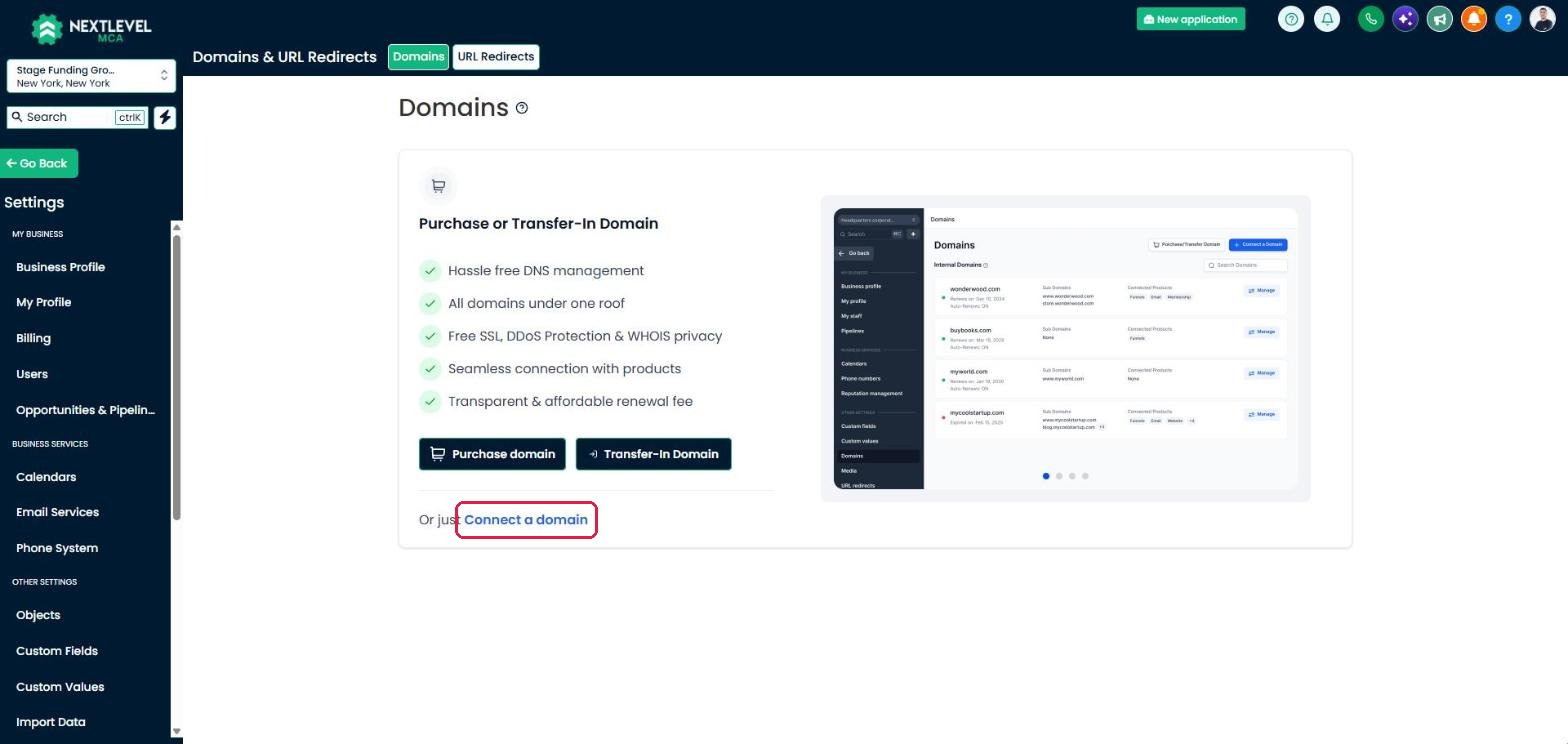
Settings → Domains & URL Redirects: Connect a domain.
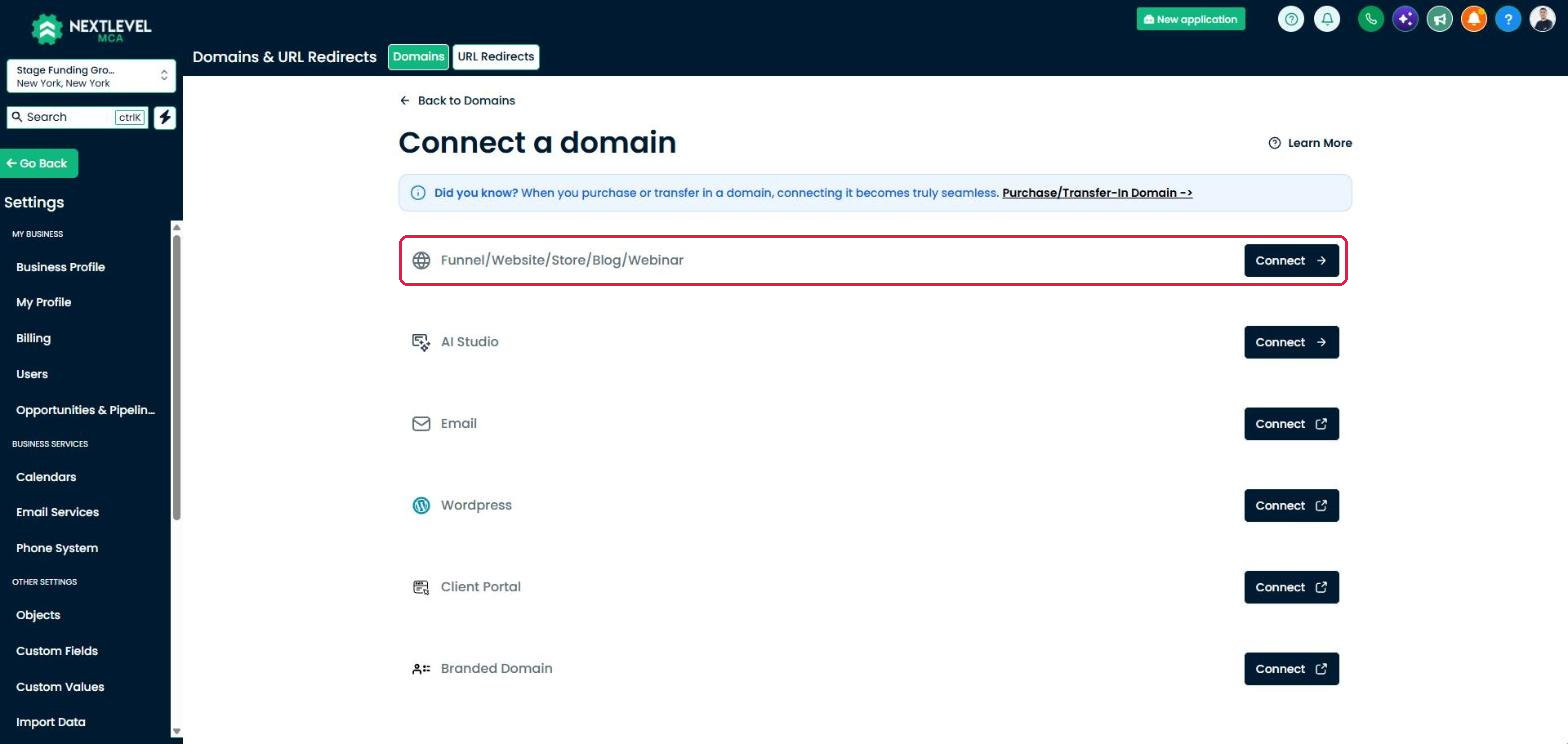
Connect a domain: funnels use the first row.
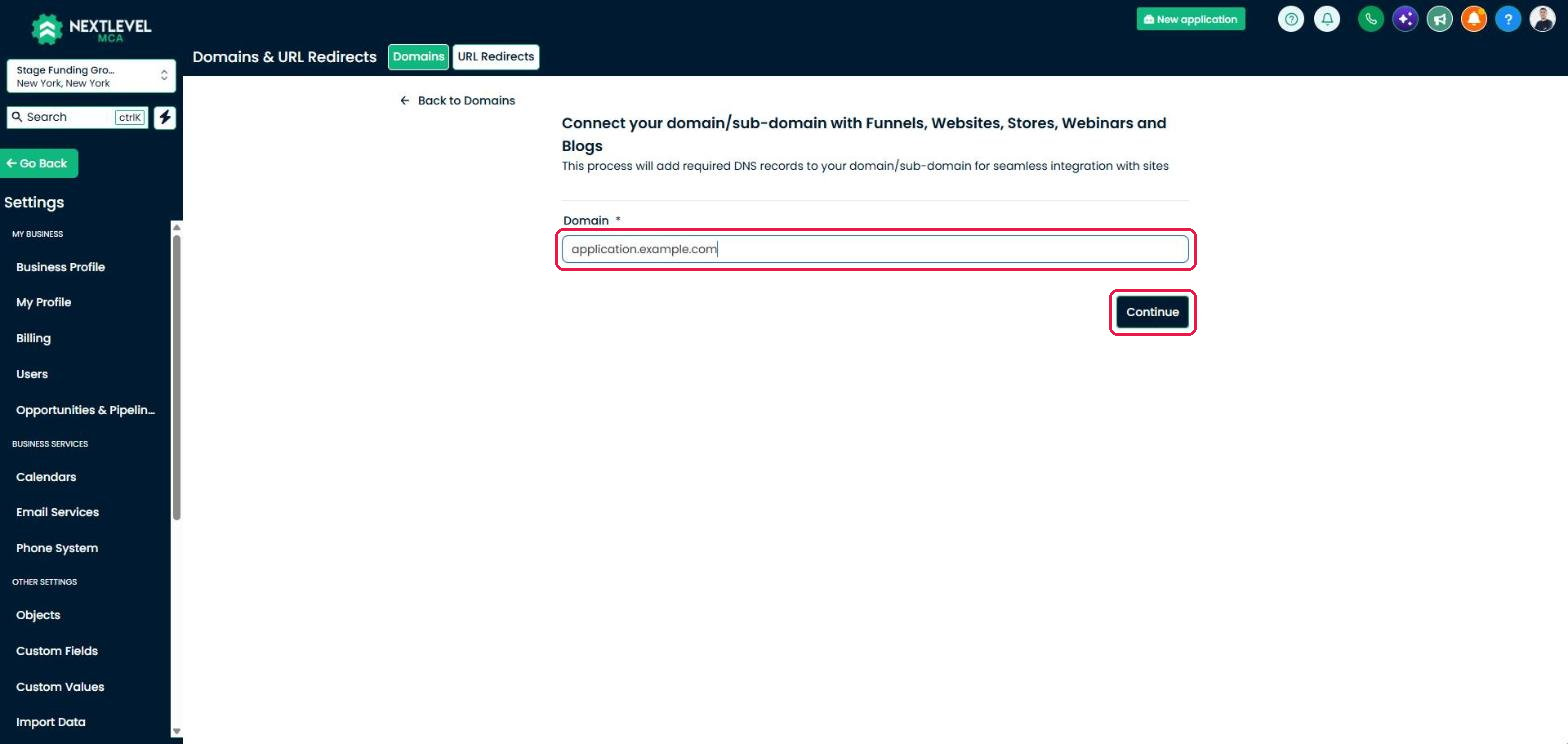
The address the form will live at.
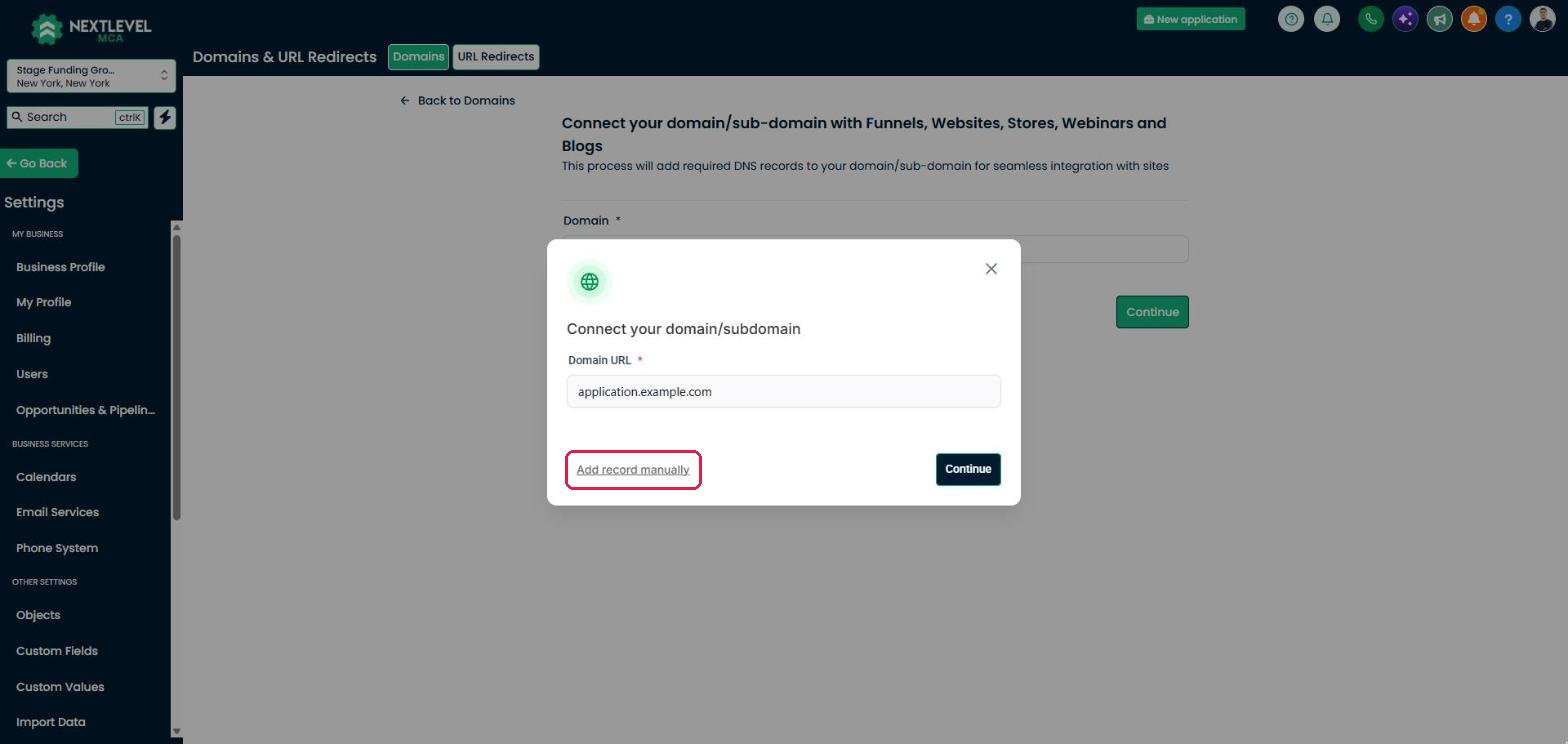
Add record manually shows the record your domain provider needs.
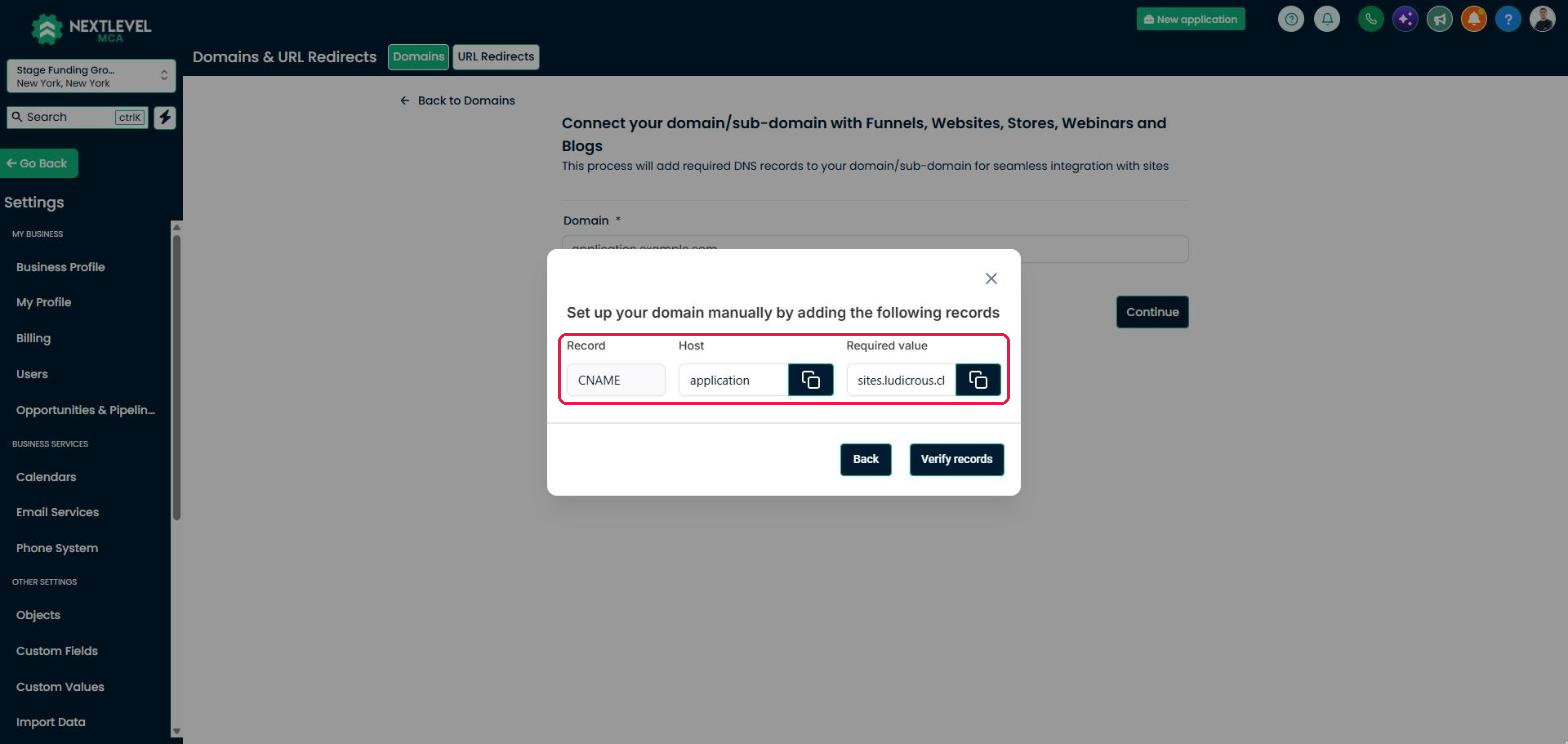
The record to add for a subdomain: a CNAME to sites.ludicrous.cloud. Verify records checks it.
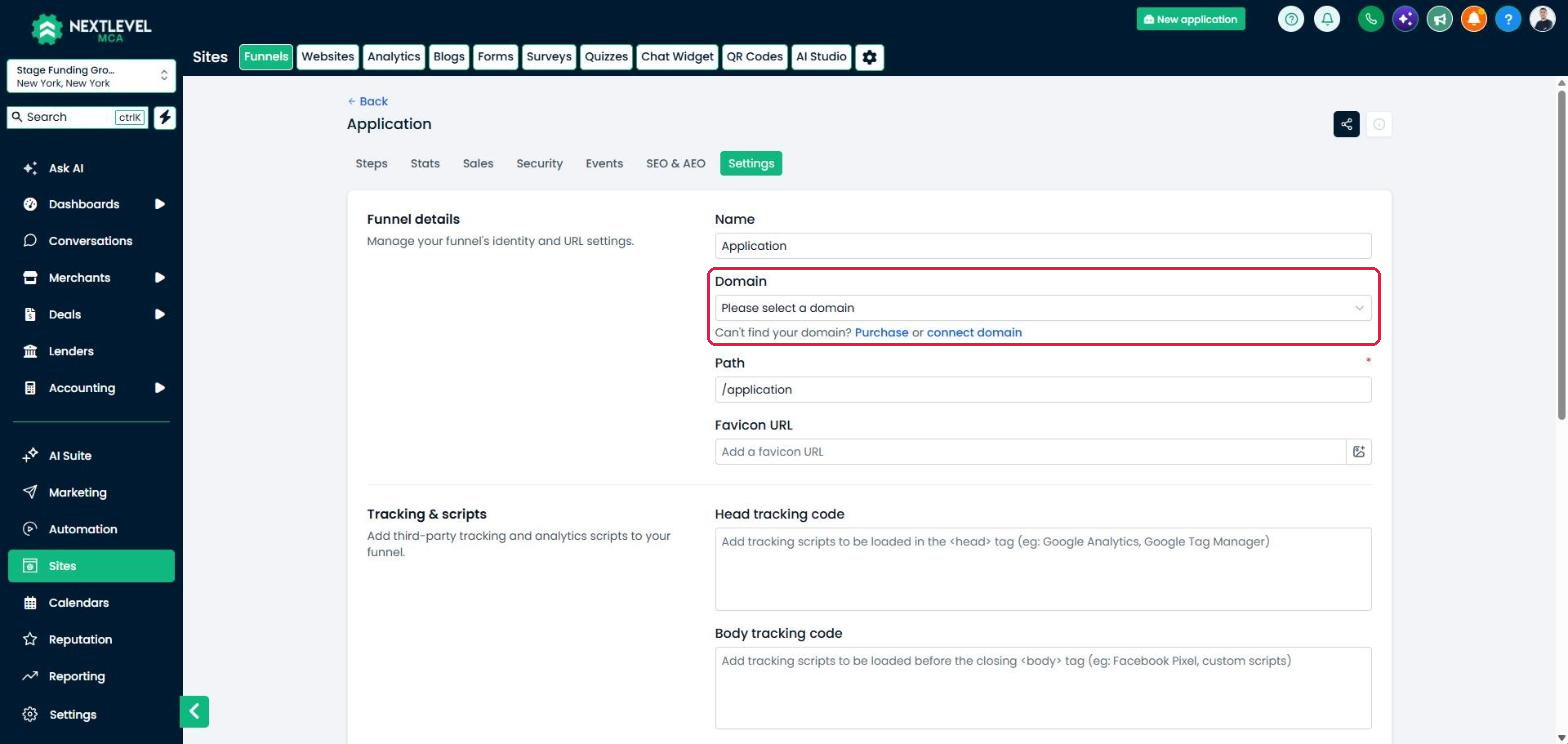
The funnel's Settings tab: Domain lists the domains you've connected.
Publish and check it
Publish
Open the address
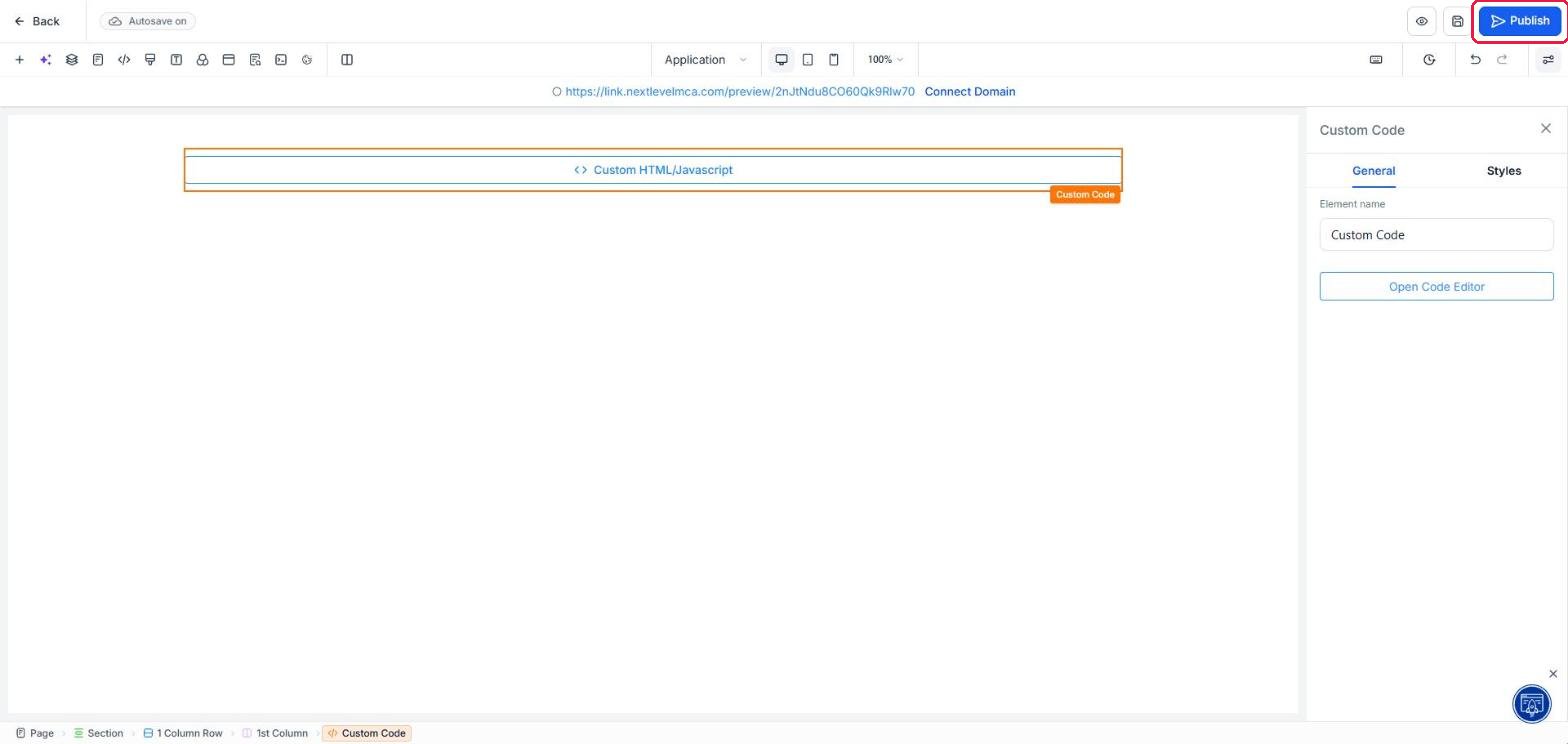
Publish is at the top right of the page builder.
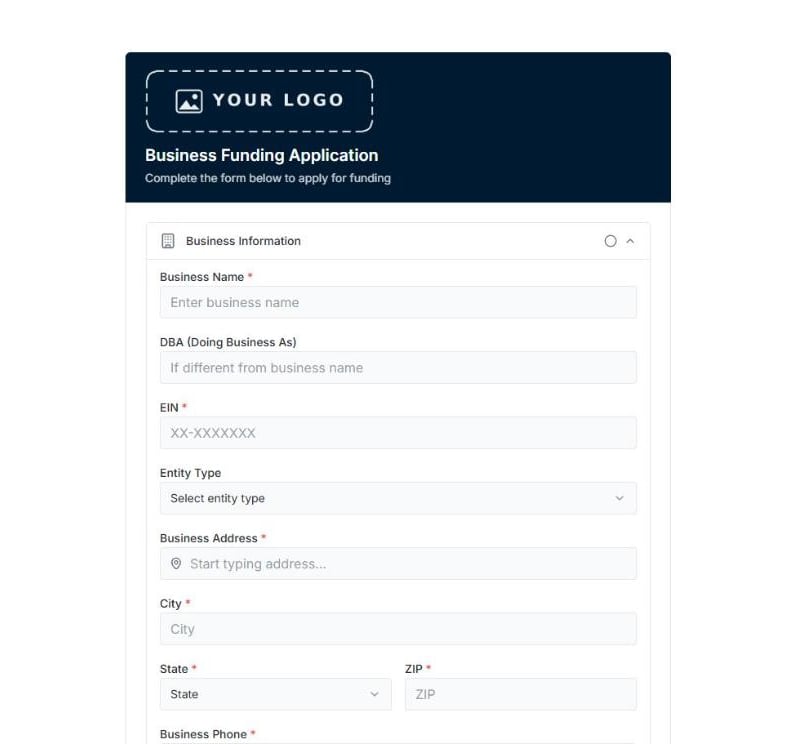
The form on its own page. Your logo replaces the placeholder.
Who gets the deals
Applications from your own page go to the Default originator set under Settings → Application Form → Form behavior, like the direct link. To give each rep their own link, add their rep code to the page’s address:application.yourdomain.com/?rep=CODE. The Rep link generator on the Embed code tab gives you that part under Parameter only. Merchants who apply from that link are assigned to that rep, on your website and on a CRM page alike.
Common problems
Verify records says the record isn't found
Verify records says the record isn't found
application, not the full address) and no other record for the same name. Give it time to spread, up to a day. On Cloudflare, set Proxy status to DNS only.Publish says a domain is needed
Publish says a domain is needed
The page opens but the form doesn't show
The page opens but the form doesn't show
<script to </script>. If the page shows Form Unavailable, turn Form active on under Settings → Application Form → Form behavior.A rep's applications go to the default originator
A rep's applications go to the default originator
?rep= and that rep’s code. Check the rep has a rep code in Settings → Team, and that their link includes it.